I think it was a couple of Master Chef seasons ago, Zachie and I were watching Gary make pies. They looked amazing, great for winter and who really doesn’t love a pie? Pies for us were our “we’re home late and the kids need to eat now” meal and I was buying nibble pies aka party pies from Aldi which were great. But in the back of my mind were a couple of things. Firstly they’re not the most nutritious thing ever and heaven only knows exactly what they’re made of. So I thought I am going to have a go at making Gary Mehigan’s pies. You can find his recipe here.
Now me being me, it’s very rare that I will follow a recipe to the T unless I am baking in which case you have to as it’s a bit of a science experiment in getting everything to do it’s thing (another story there). Anyway I went to the butcher but he only had Osso Bucco which apparently is chuck steak with the bone. Which will give loads more flavour so I was in. Then today I am about to get everything ready and realise we only have 1 onion and the recipe says 4… argh! Kids aren’t massive fans of onions, had a bunch of spring onions voila, problem solved. I also left out the Guinness and used extra water instead.
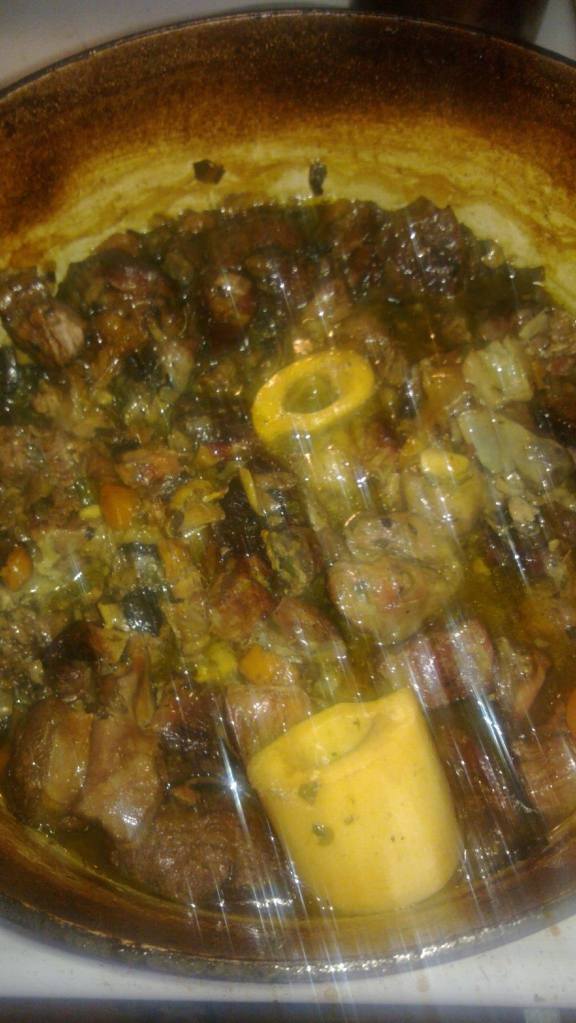
This recipe took the better part of a day to make, but bear in mind, that includes wrangling 2 rascals, hanging out washing, a bit of procrastinating and realising I added too much water at the start. The results though were amazing and I would say if you’re a confident cook then add the extra water, used osso bucco and let it all cook away, especially for those of you in winter as it’ll warm your house too. We ended up with a delicious sticky stew, where the meat melted away and was rich in flavours. Zachie was taste tester and he said it’s perfect Mummy, Mr Maker, Giggle and Hoot tastic! Which in my book equals winner!
You will need:
For the pies. 100ml olive oil, plus extra for greasing
1 large red onion, diced
1 bunch of spring onions washed and sliced
4 cloves garlic, smashed and peeled
4 sprigs thyme
3 bay leaves
2 tablespoons plain flour
5 large pieces of Osso Bucco Approx 1.5kg
Salt flakes and freshly ground pepper
4 medium sized carrots, sliced
3 large field mushrooms, diced
1.5 Litres water (1500 mls or 6 cups)
2 tsp Massel beef stock powder
Maggie Beer’s Sour-Cream Pastry
400g butter, softened
500g plain flour
1 cup sour cream
Method.
Preheat the oven to 180°C fan-forced (200°C conventional).
For the pies, add 40ml olive oil to an enamelled cast-iron casserole, then add the onion, garlic and thyme and cook over low heat (use a simmer mat, if necessary) for 40 minutes or until the onion is soft and translucent, stirring occasionally. Increase the heat to medium-high, add bay leaves, carrots & mushrooms and cook until the onion is dark and caramelised. Add the flour & powdered stock and cook stirring often for 3-4 minutes.
Season the osso bucco generously with salt flakes and ground pepper. Heat remaining 60ml of the olive oil in a large frying pan over high heat, then cook the osso bucco in 2 batches until browned on all sides. Place the osso bucco into the onions and use 2 cups of water to deglaze the beef pan, scraping all the brown bits from the bottom, add to the onions.
Pour enough water to cover the beef and vegetables and bring to the boil. Cover with a tight fitting lid, then transfer to the oven and cook for 2-2.5 hours or until tender. Now I forgot that the amount of water required to cover osso bucco is more than what you would need to cover chuck steak so after 2 hours there was still heaps of water so I took the lid off and let it cook for another hour and that resulted in the most lovely stew, the meat was off the bone and lovely and sticky. Damn near perfect. Leave to cool to room temperature. Remove the bones and any visible fat and break up the meat with a fork, squash any large pieces of carrot. Refrigerate until cold.
Meanwhile, to make the sour cream pastry, place the butter and flour and a pinch of salt in the bowl of an electric mixer with a paddle or food processor, then blend until the mixture resembles large breadcrumbs. Gradually add the sour cream, mixing until the pastry just comes together. Shape into a disc, then wrap in plastic wrap then chill for at least 30 minutes.

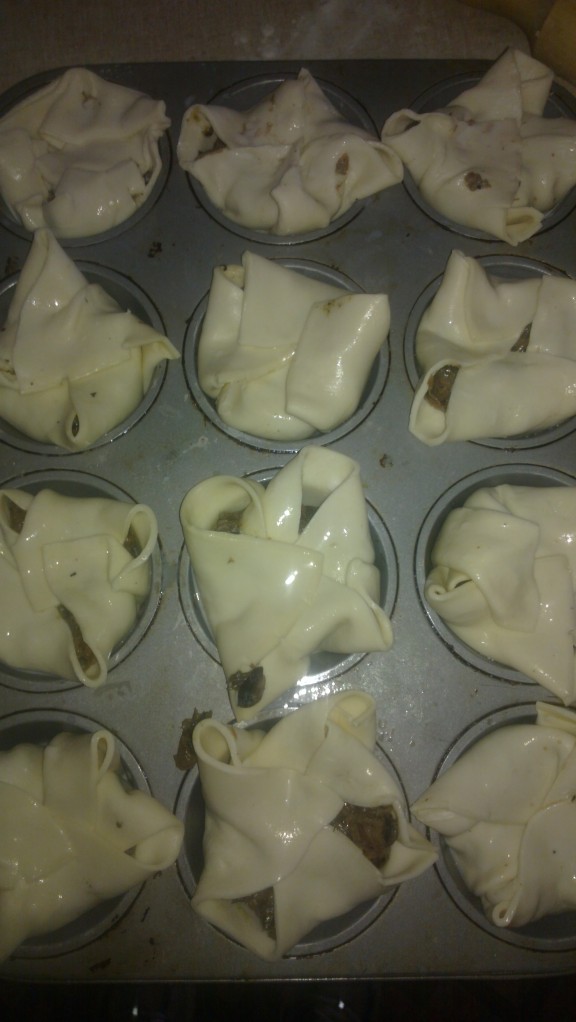
Now at this stage you need to decide what size pies you want, I wanted nibble pie size so I used a muffin tin. I also sprayed it with one of those baking sprays as I am not about to wrestle with the pies to get them out of the tray. The pastry was quite sticky and as I don’t have a cutter to fit them to the size of the tin I did the next best thing. I rolled the pastry out to about 5-10 mm and cut it to fit and then rolled them slightly to make sure they were big enough to sit up over the sides of the tin. Place a spoonful of the meat into the mould and seal, making sure you crimp the edges together. In the end the pastry sat up enough that I was able to fold it over and use that as the lids with little holes in the corners. This will allow the steam to escape.
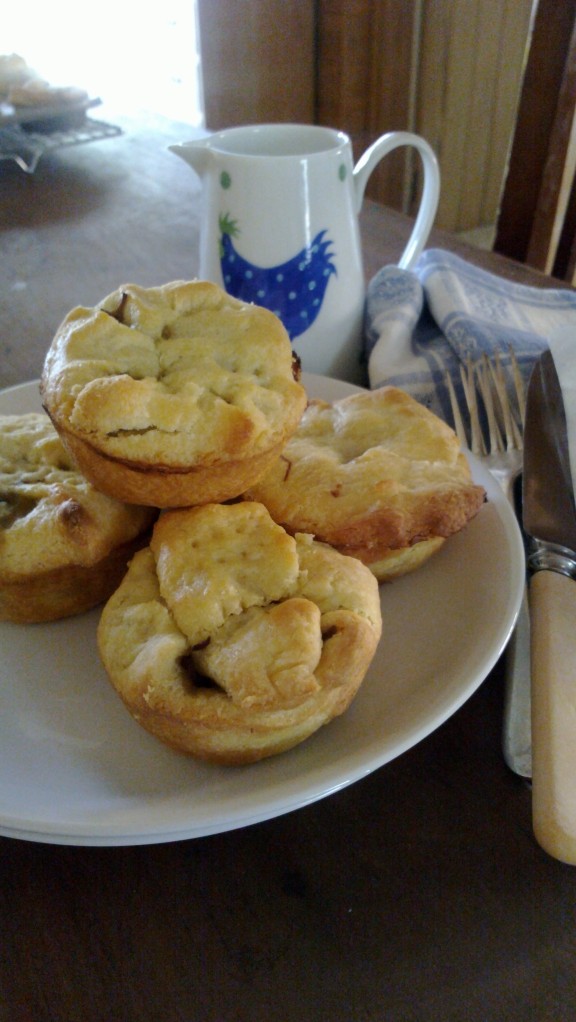
Brush the pastry tops with egg wash. Bake for 25 minutes or until pastry is golden. Remove from the oven and leave to stand for 5 minutes. Turn out and serve with tomato sauce, if desired.
If like me you’re going to freeze the pies you can cook them until they’re just golden and then remove from the oven.
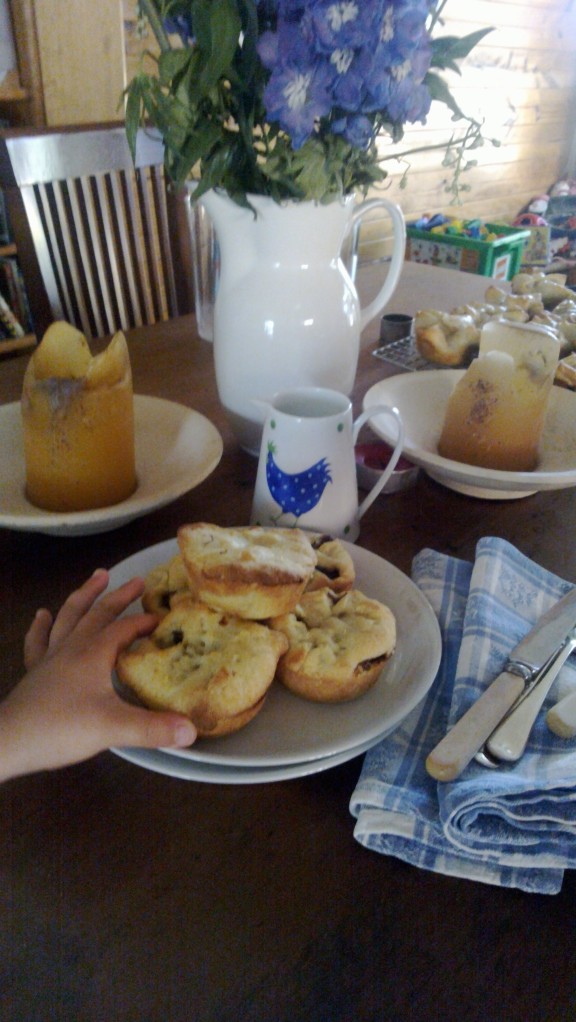
Zachie wasn’t a fan of the pastry, a bit too rich so if you can’t be bothered making your own pastry you can also quite easily use a good puff pastry, which is what I reverted to. I just cut each sheet into 4 squares and waited til they were soft and pliable and folded the corners in over the filling.
This recipe made us 30 small pies. I doubled the quantity for the pastry from the original and if you were using bought puff pastry then you’ll need at least 8 sheets. Also if allergies are a concern you can also leave out the egg and just use milk to brush the pastry before placing it in the oven.
I hope you enjoy!

