Homemade Beef, Onion & Mushroom Pies

I think it was a couple of Master Chef seasons ago, Zachie and I were watching Gary make pies. They looked amazing, great for winter and who really doesn’t love a pie? Pies for us were our “we’re home late and the kids need to eat now” meal and I was buying nibble pies aka party pies from Aldi which were great. But in the back of my mind were a couple of things. Firstly they’re not the most nutritious thing ever and heaven only knows exactly what they’re made of. So I thought I am going to have a go at making Gary Mehigan’s pies. You can find his recipe here.
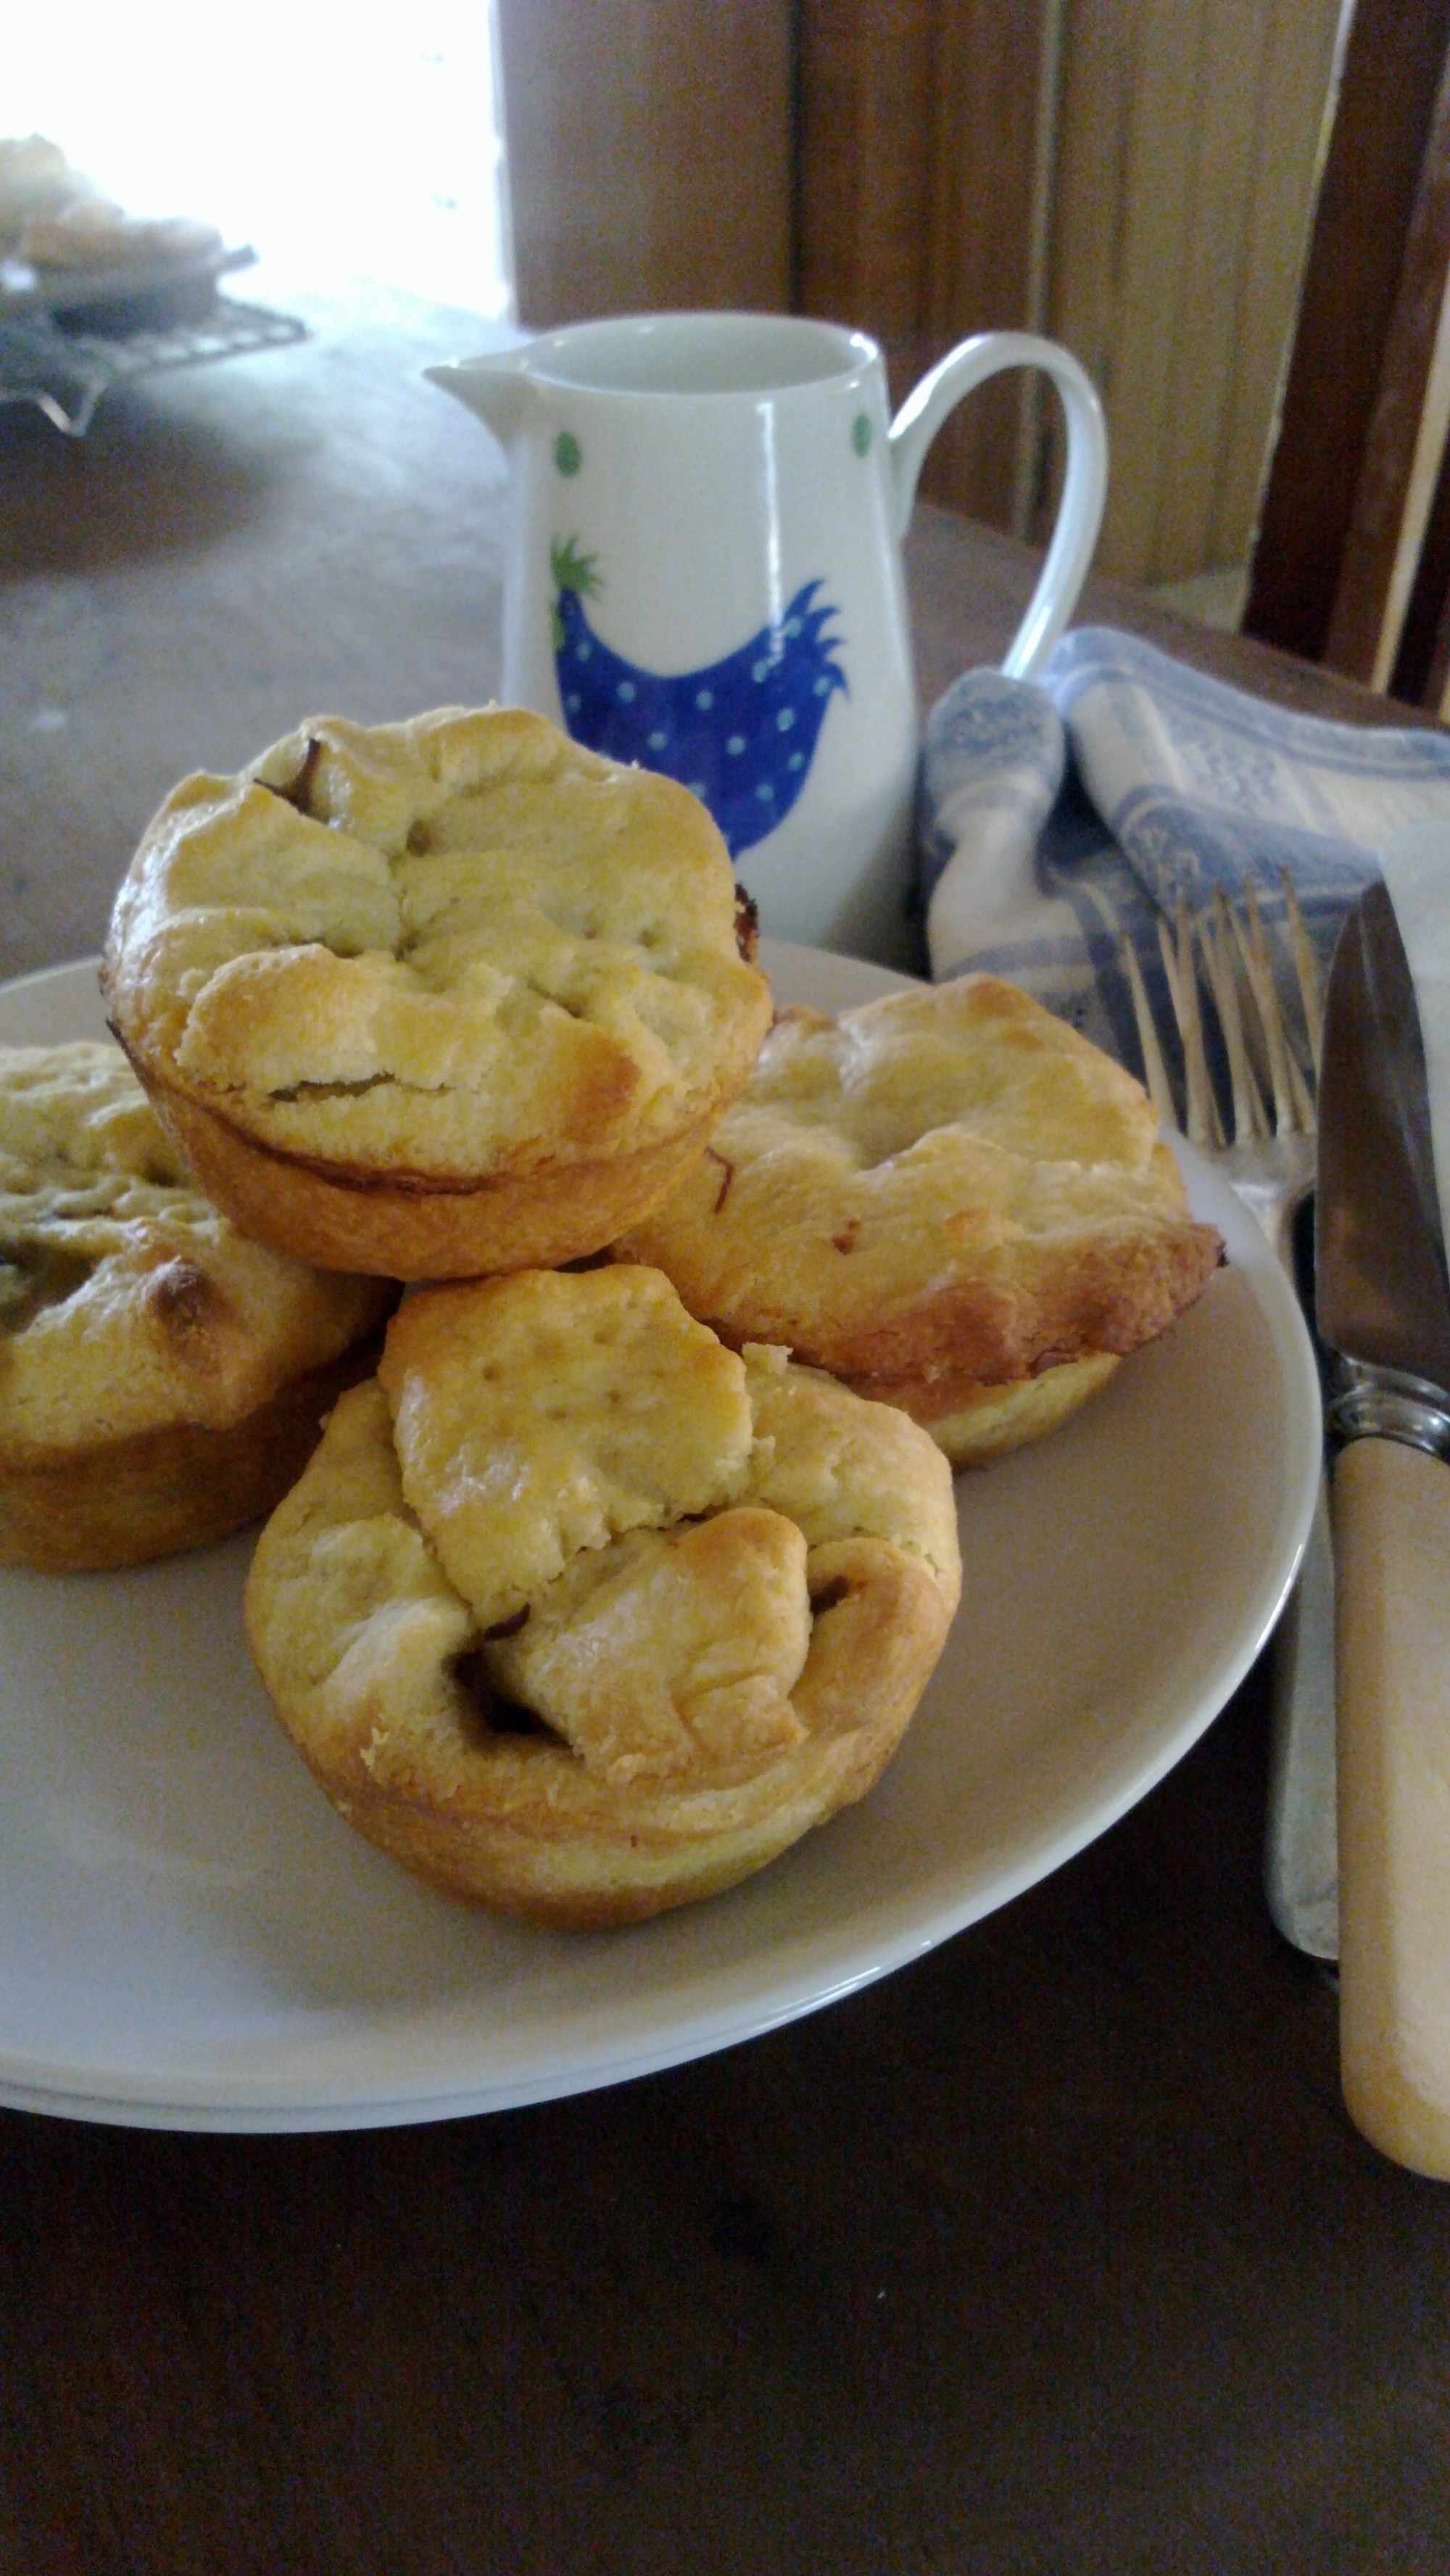
Too yummy to wait

Too yummy to wait

Now me being me, it’s very rare that I will follow a recipe to the T unless I am baking in which case you have to as it’s a bit of a science experiment in getting everything to do it’s thing (another story there). Anyway I went to the butcher but he only had Osso Bucco which apparently is chuck steak with the bone. Which will give loads more flavour so I was in. Then today I am about to get everything ready and realise we only have 1 onion and the recipe says 4… argh! Kids aren’t massive fans of onions, had a bunch of spring onions voila, problem solved. I also left out the Guinness and used extra water instead.

This recipe took the better part of a day to make, but bear in mind, that includes wrangling 2 rascals, hanging out washing, a bit of procrastinating and realising I added too much water at the start. The results though were amazing and I would say if you’re a confident cook then add the extra water, used osso bucco and let it all cook away, especially for those of you in winter as it’ll warm your house too. We ended up with a delicious sticky stew, where the meat melted away and was rich in flavours. Zachie was taste tester and he said it’s perfect Mummy, Mr Maker, Giggle and Hoot tastic! Which in my book equals winner!

Beef, Mushroon & Onion Stew

You will need:

For the pies. 100ml olive oil, plus extra for greasing

1 large red onion, diced

1 bunch of spring onions washed and sliced

4 cloves garlic, smashed and peeled

4 sprigs thyme

3 bay leaves

2 tablespoons plain flour

5 large pieces of Osso Bucco  Approx 1.5kg

Salt flakes and freshly ground pepper

4 medium sized carrots, sliced

3 large field mushrooms, diced

1.5 Litres water (1500 mls or 6 cups)

2 tsp Massel beef stock powder

Maggie Beer’s Sour-Cream Pastry

400g butter, softened

500g plain flour

1 cup sour cream

Method.

Preheat the oven to 180°C fan-forced (200°C conventional).

For the pies, add 40ml olive oil to an enamelled cast-iron casserole, then add the onion, garlic and thyme and cook over low heat (use a simmer mat, if necessary) for 40 minutes or until the onion is soft and translucent, stirring occasionally. Increase the heat to medium-high, add bay leaves, carrots & mushrooms and cook until the onion is dark and caramelised. Add the flour & powdered stock and cook stirring often for 3-4 minutes.
Season the osso bucco generously with salt flakes and ground pepper. Heat remaining 60ml of the olive oil in a large frying pan over high heat, then cook the osso bucco in 2 batches until browned on all sides. Place the osso bucco into the onions and use 2 cups of water to deglaze the beef pan, scraping all the brown bits from the bottom, add to the onions.

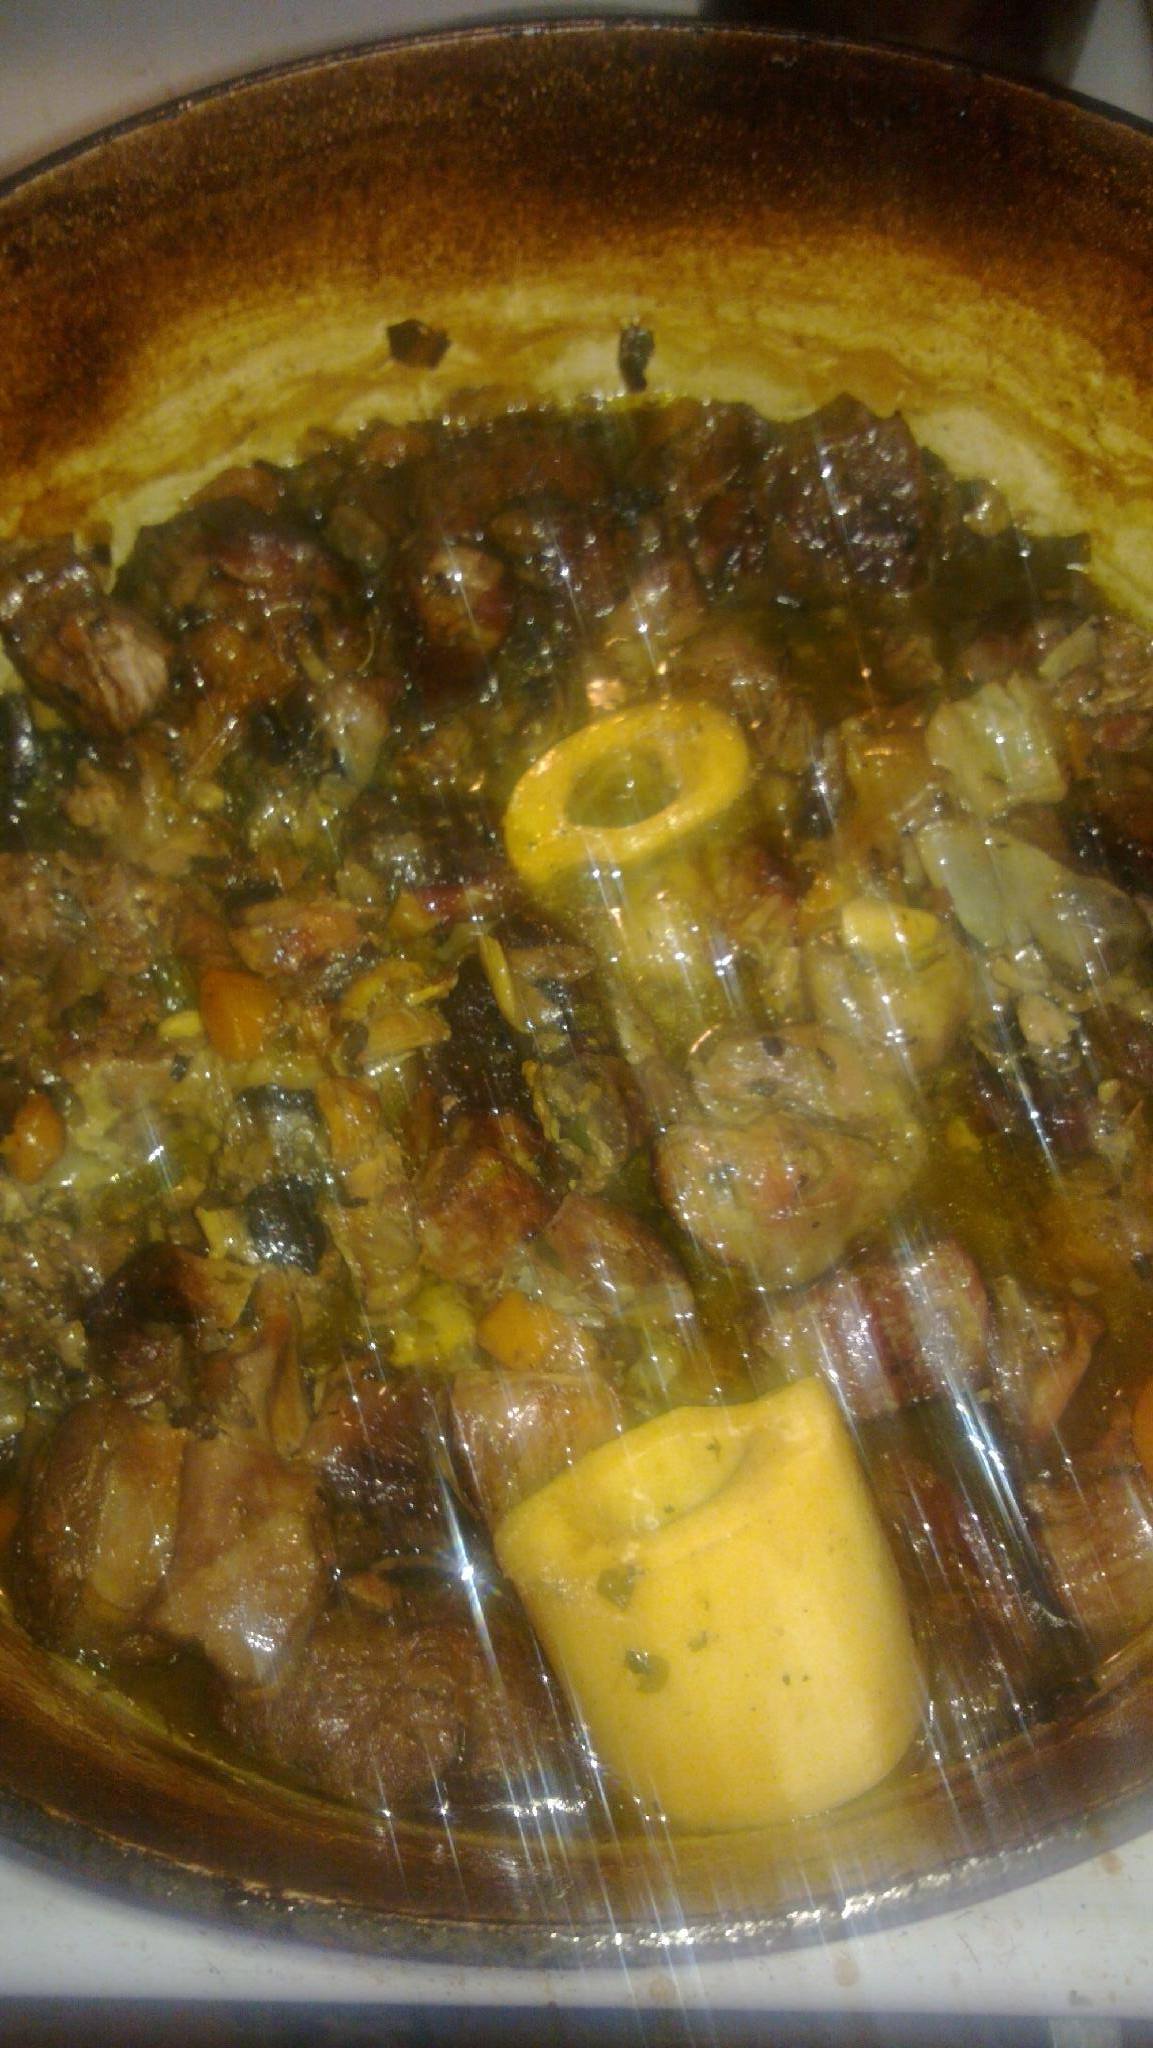
Pour enough water to cover the beef and vegetables and bring to the boil. Cover with a tight fitting lid, then transfer to the oven and cook for 2-2.5 hours or until tender.  Now I forgot that the amount of water required to cover osso bucco is more than what you would need to cover chuck steak so after 2 hours there was still heaps of water so I took the lid off and let it cook for another hour and that resulted in the most lovely stew, the meat was off the bone and lovely and sticky. Damn near perfect. Leave to cool to room temperature. Remove the bones and any visible fat and break up the meat with a fork, squash any large pieces of carrot. Refrigerate until cold.

Meanwhile, to make the sour cream pastry, place the butter and flour and a pinch of salt in the bowl of an electric mixer with a paddle or food processor, then blend until the mixture resembles large breadcrumbs. Gradually add the sour cream, mixing until the pastry just comes together. Shape into a disc, then wrap in plastic wrap then chill for at least 30 minutes.
14010152
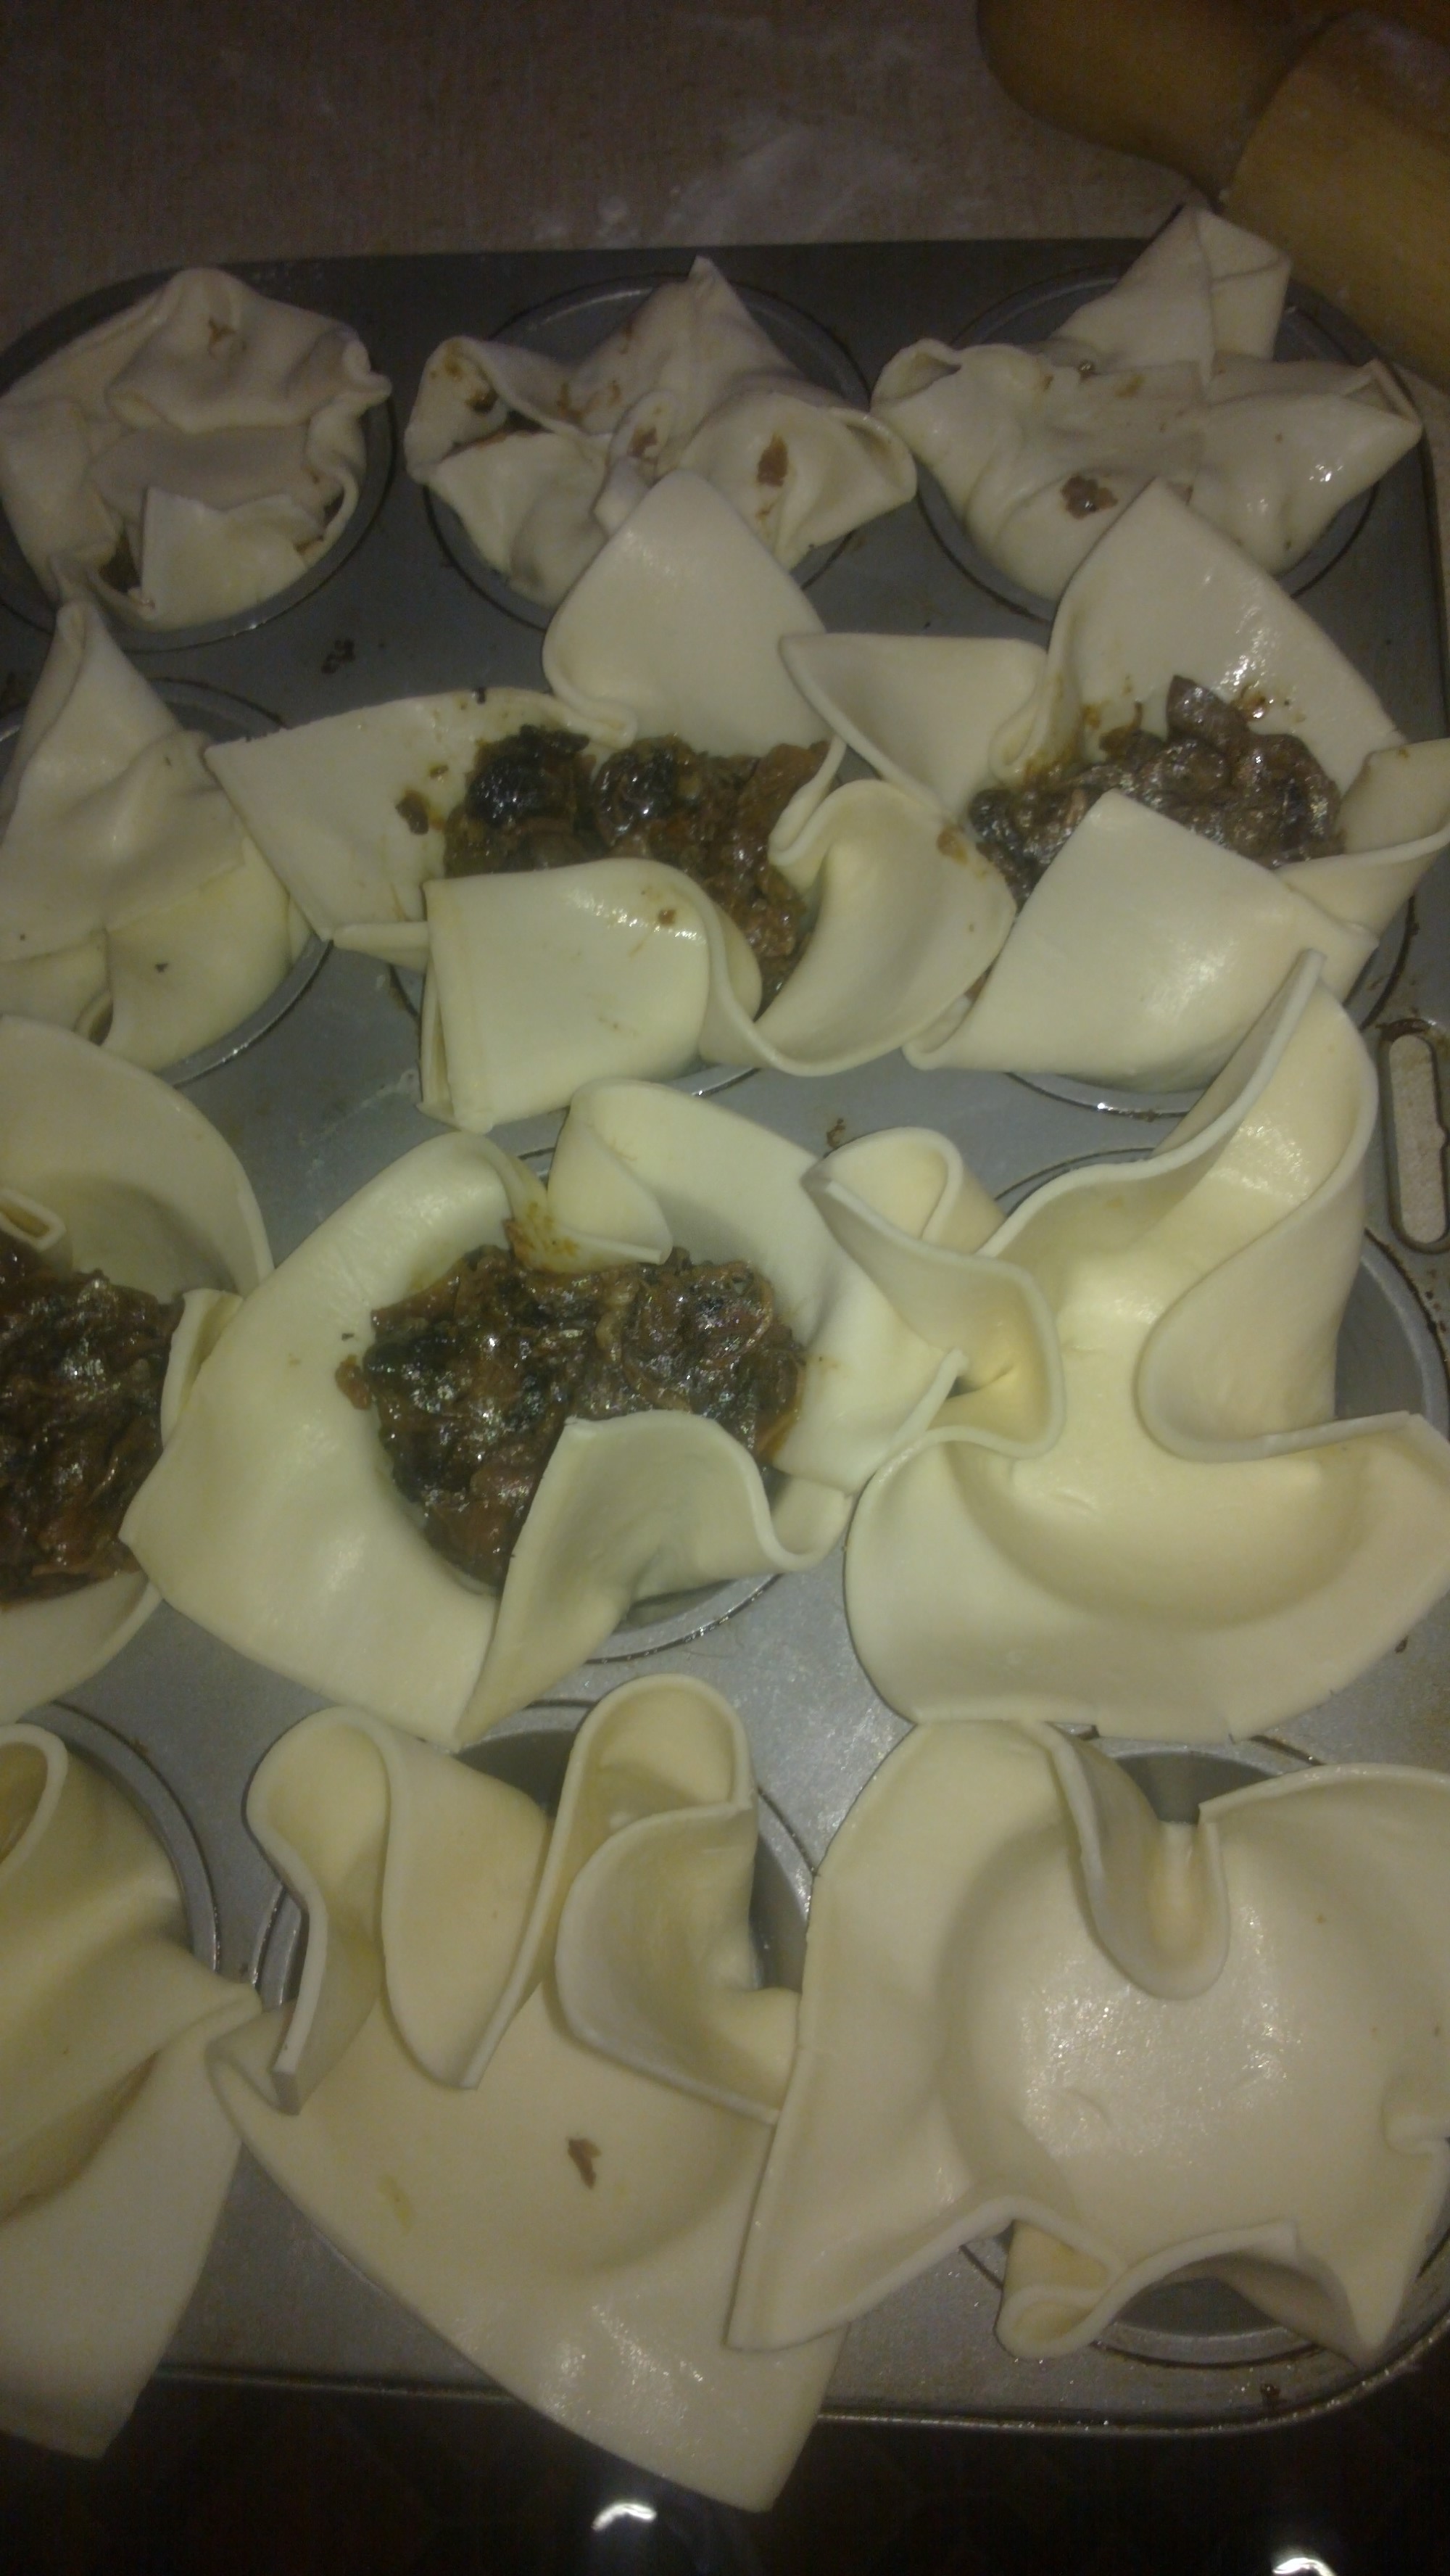
Now at this stage you need to decide what size pies you want, I wanted nibble pie size so I used a muffin tin. I also sprayed it with one of those baking sprays as I am not about to wrestle with the pies to get them out of the tray. The pastry was quite sticky and as I don’t have a cutter to fit them to the size of the tin I did the next best thing. I rolled the pastry out to about 5-10 mm and cut it to fit and then rolled them slightly to make sure they were big enough to sit up over the sides of the tin. Place a spoonful of the meat into the mould and seal, making sure you crimp the edges together. In the end the pastry sat up enough that I was able to fold it over and use that as the lids with little holes in the corners. This will allow the steam to escape.

Just before bakingFinished

Brush the pastry tops with egg wash. Bake for 25 minutes or until pastry is golden. Remove from the oven and leave to stand for 5 minutes. Turn out and serve with tomato sauce, if desired.

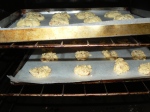
If like me you’re going to freeze the pies you can cook them until they’re just golden and then remove from the oven.

Beef, Mushroom and Onion Pies

Zachie wasn’t a fan of the pastry, a bit too rich so if you can’t be bothered making your own pastry you can also quite easily use a good puff pastry, which is what I reverted to. I just cut each sheet into 4 squares and waited til they were soft and pliable and folded the corners in over the filling.

This recipe made us 30 small pies. I doubled the quantity for the pastry from the original and if you were using bought puff pastry then you’ll need at least 8 sheets. Also if allergies are a concern you can also leave out the egg and just use milk to brush the pastry before placing it in the oven.

I hope you enjoy!

Strawberry Jam

Strawberry Jam in the making

Strawberry Jam in the making

We are in the midst of holidays at the moment and while the weather is warm it’s certainly not hot. I am not complaining, to me these sunny days are what makes a perfect summer. It’s warm and if you were in a sheltered spot it’d be hot, but the evenings are cool and make for good sleeping.

Yesterday was a very lazy day so today we needed to get out of the house and off to the market as we’d used up all our leftovers and we were all going a little bit stir crazy. First stop was Aldi. Now I have sung their praises before and today was no exception. Punnets of strawberries for 99 cents! Yes you read that right. It’s not even worth driving to pick them yourself for that price.

I figured these were going to be the eat them now or make something with them kind at that price so the kids and I went over them with a fine tooth comb and just as I was about to remind Sophia to be careful because she dropped a punnet and they opened up we discovered a mouldy one in there – nice one Soph. So with 9 punnets in tow I was prepared to come home and make either Jam or Sorbet.

Jam won out as I don’t have an ice cream machine. I removed all the stalks and cut the berries in half and ended up with 1800 grams or 1.8kg of fruit after the kids sampled some. I knew you could make jam with roughly equal quantities of fruit and sugar.

So for this amount of fruit which was washed after hulling and placed in a Very large saucepan I added 1.8kgs of white sugar and the zest and juice of two limes. Add this to the saucepan and cover for an hour or so to allow the sugar to bring out the juices. Then bring it to the boil and then simmer and stir for 20-30 mins or until you can feel it start to thicken. Definitely DO NOT walk away from it during this time, the last thing you want is for the sugar to catch or for it to boil over. Truth be told I started in the saucepan you see above and had to transfer it to a deeper pan as it came to within millimeters of the rim…

I put a saucer in the freezer and as the jam started to thicken I drizzled some onto the saucer and put it back in the freezer for 5 mins. When you can push it with your finger and it leaves wrinkles you know it’s ready.

That amount of fruit has yielded a small jar, 4 larger size jars and one enormous jar of jam and a bit extra which we’ll need to use now as I have run out of jars and I am seriously regretting donating my collection of jars to the op shop when we moved!

Now all we need are some scones and cream to go with our jam. Happy sunny days!


Happy New Year!

I hope everyone has had a wonderful Christmas and New Year celebrating with those nearest and dearest. I will over the coming days post some pictures and recipes from our Christmas Lunch. For now though, I wanted to share a quicker than quick, tasty and warming snack, lunch or dinner.

Wonderful if you’re feeling slightly seedy from a larger than life New Years celebration. Particularly wonderful if you’ve had a lazy day and really can’t be bothered cooking much. I fall into the latter category. We had a wonderful evening celebrating New Years with very dear family who I consider friends as well. The kids adore each other, there isn’t a moment of fighting which is so rare for young children, conversation flowed as did laughter, joy and happiness!

Quick and easy

Quick and easy

So Cheese on toast anyone?

You will need:

Some yummy bread – I used Taylors Grainy bread which is wholemeal with bits, but you can use what ever you like.

Tasty Cheese, a good quality vintage cheddar or Mersey valley if you want to go up market.

Leftovers, Ham, chicken, capsicums, spring onions aka scallions or a Spanish (Red) onion, olives finely chopped, normal or cherry tomatoes.

You can really use anything you like. For the kids I just toasted the bread first and then placed the cheese on the toast in slices and put it under the grill until it was melted and golden.

For us I used up the wilting spring onions, some black olives and yellow cherry tomatoes, all sliced. I put a bit of everything on the toast topped with cheese and then under the grill for about 5 mins or so.

Delicious!

Apple & Blackberry Crumble

Thanks to Peppa Pig the kids are having this tonight for dessert. Zachie requested by asking Mummy do we have any apples? Do we have any Blackberries? Yes, yes Zachie we do… why? Can you please make apple and blackberry crumble?

Apple and Blackberry CrumbleI made a small one probably enough to serve 2-3 or 4 for kids. It’s a very easy dish to make and takes no time at all!

You will need

Apples

Blackberries

Sugar

Water

Butter

Plain Flour

I worked on equal parts of apples to blackberries, for this one it was 2 Royal Gala apples to about a cup of blackberries. (If you’re using frozen make sure they’re Australian Grown and packaged to avoid any nasty chemicals, or better yet use fresh ones.

Simply stew the fruit in about 1/2 a cup of water. When the fruit is soft but still holding it’s shape add sugar to taste and reduce the liquid. Pour the fruit and syrup into an oven proof dish. Heat your oven to 180 degrees Celsius. While the fruit is cooking rub butter into the sugar and flour so that you have the consistency of wet sand. I used approx 1 cup of flour to 1/3 cup of sugar and 100g of butter, you want the crumble mix to hold together if you crush it in your hand.

Sprinkle over the fruit and bake for approx 20 mins or until golden brown.

Serve with either ice cream or cream.


Who doesn’t love a scone?

We had a catch up today with our Mother’s Group, we have been meeting for nearly 5 years and are still going strong. A very dear friend & colleague gave me her scone recipe (The English Scone) it is without question the easiest and least time consuming recipe ever!

Image

I am sure my darling Jeanma (Dad’s Mum) would be none to impressed that there is no butter in this recipe, but I tell you even the purists would go for these. So thanks Paulina, You ROCK!

You will need

3 cups of self raising flour

3 tsp sugar

a pinch of salt

1/2 cup cream

1.5 cups milk.

METHOD:

PREHEAT oven to 220 degrees. Put all dry ingredients into bowl, whisk for a few seconds using a hand whisk. Add cream and milk, stir LIGHTLY using a thin spatula or knife ( the less you mix, the lighter and fluffier the scone) Pour sticky dough onto a floured board. Sprinkle some flour on top to prevent your hands sticking. Pat dough lightly to even it out. Dip your scone cutter into flour and cut out scones. Repeat to prevent dough sticking to cutter.

Put them together on a baking sheet if you want ‘pullaparts’ or place them separately if you want individual, crusty topped scones.

Cook for about 11 mins until hollow sounding when tapped. Take out of oven, cover with a clean tea towel until ready to serve with whipped cream and good quality jam.

Note: This mix is really really sticky, have faith it does work, I have played around with it just a little and because it’s so wet I get two dessert or soup spoons and make rough quenelles and spoon the mix onto a lined tray and end up with pull a parts.

Sensational is an understatement!

Dinosaur Salad

We were watching Peppa Pig the other day, Sophia loves her and every time she says Peppa Pig she snorts like a pig which is hilarious – to me anyway 🙂 – So Peppa’s brother George wouldn’t eat his salad which Grandpa Pig had grown in his own garden, so Grandpa Pig tore up the pieces of lettuce and made a dinosaur with it and cucumber & tomatoes.

Soph & Zachie thought it was great and tonight we had a go at it as well. I have found that a sure fire way to get the kids to eat is to get them involved in making the food. Tonight was no different. Zachie had grazed all day so wolfed down this salad followed by a bowl of weetbix, another great alternative to dinner when you know if they don’t eat something they’ll be up through the night!

Now I do have to confess that I have no issue at all with getting either of our kids to eat salad, they love it and would quite possibly eat only salad, some nights it’s a fight for who gets the most.

My dear friend gave me her wonderful garden salad recipe and it’s a staple in our house even through winter, I love salad in preference to vegies any day as does Hubby, which is probably where the kids get it from as well.

If you struggle to get your kids to eat salads or vegetables or just want to make it a bit more fun, this could be the way… stay tuned for a Semi Trailer styled salad soon.

Dee’s delicious Salad

You will need for 2 adults & 2 kids

1 tomato diced

1 decent sized Lebanese cucumber peeled, forked & quartered

4-6 coz lettuce leaves, rinsed and chopped

100gms of danish fetta, crumbled

dash of balsamic vinegar

Combine the ingredients in a salad bowl, mix well and serve. We do also add avocado &/or olives on occasion too.

Blood Orange Candied Peel Short Bread

Image

Spreading a little Christmas Cheer to our kindergarten teachers, tomorrow is Zachie’s last day and I wanted to give them something to show our appreciation. What do you give someone who has cared so lovingly for your child but that you don’t really know??? Food!! 😀

These are incredibly easy to make and are very yummy!

You will need

250g soften butter

3/4 cup Icing sugar (you can use caster but you will need to mix it for a little longer,

2 cups plain flour

1/2 cup candied blood orange peel.

Cream the butter & sugar until it’s light & fluffy, add sifted plain flour carefully & mix to combine. Finely dice the peel and add to the mix. Refrigerate for 15 mins depending on how hot it is outside. Roll into little balls and press down with a fork – like yoyo’s bake in a mod oven for 10 mins or until golden, dust with icing sugar to serve.

I made our own candied peel and have used it for all sorts of things from these biscuits to the filling for cannolli. It’s very easy to make, you just cut the rind from the orange or lemon ensuring that you don’t cut a lot of the pith when you’re cutting it, then slice the rind into strips, place it in a saucepan with enough water to cover the rind & the same amount of sugar, generally 1 cup of sugar to 1 cup of water is a good ratio. Then bring it to the boil & simmer until the syrup has thickened DO NOT WALK AWAY!! This is like making toffee, the sugar syrup gets really hot really quickly so you need to keep an eye on it.

Both are great ideas for Christmas presents!

Simple Sushi

Well this is definitely one to get your kids onto. I couldn’t believe how easy it was to make sushi or california rolls as the larger ones are known here. Zachie & I went to the supermarket and bought Sushi rice, one of those bamboo mats you use to roll up the sushi, some nori paper and the vinegar that you use to flavour the rice.

We already had tuna, cucumber, carrots, avocado etc to use as fillings so we were all set to have a go – now the first attempt I have to say was very impressive. I did undercook the rice slightly, but it was okay, there is certainly a reason they call it sticky rice.

So I simply followed the recipe on the packet of rice, which pretty much says to cook a cup of rice in 375 mls of water, you have to rinse the rice first, bring it to the boil and simmer for 10 mins then let it sit for 10 mins.

Then transfer it to a plate and add about 3 tbsp of sushi vinegar, stir it around & fan it so it cools down as quickly as possible. Once it’s cold/cool then you’re good to go ahead and use it.

I mixed a tin of plain tuna with some mayonnaise, julienne some cucumbers & carrots, you could also add capsicum & sliced up some avocado.

Just spread the rice over the nori paper to within 2 cms of one edge and right to all the other edges, put your toppings on and roll up. It really is that simple, Zachie had a great time making it & eating it as well!

Definitely something to add to your repertoire if you & your family love sushi!

Almond Shortbread

Zachie has a best friend from kinder so we made some biscuits to take for morning tea when we went to play there last week. These biscuits are gorgeous, easy to make and you can quite easily change them from Almond shortbread to Lemon Shortbread but swapping the Almonds for Lemon Zest.

I do like the rustic look of just taking little clumps of the mix and baking them, but you can roll them into balls and press them down with a fork if you want something more uniform.

You Will Need:

250g Butter, softened

3/4 Cup Caster Sugar

2 Cups Plain Flour, Sifted

1tsp Vanilla Essence

100g roasted Almonds, roughly chopped

Pre heat your oven to 170 degrees celsius. Cream the butter & sugar until it’s really light & fluffy, add the vanilla essence mixing to combine. Sift the flour over the mix and beat slowly ensuring it is well combined. Tip in the chopped almonds and mix well. Refrigerate for about 5-10 mins.


Either roll or shape into 2-3 cm balls and place at intervals on a baking tray lined with baking paper. Bake in a moderate oven for 10 mins or until just golden, allow to cook before storing. This recipe makes approximately 20 -30 biscuits depending on the size.

Spaghetti Marinara

This is my easy cheats version of Spaghetti Marinara made with just a few simple ingredients, as Hubby always takes last nights dinner to work for lunch the next day this makes for a very easy friday night dinner as left overs aren’t required.

I am usually making this for 2 adults & 2 kids, the kids mostly have just the pasta with tomato sauce and 2 or 3 prawns, so if you’re serving more just increase the quantities accordingly.

You will need:

A handful of Shelled Prawns

8 Mussels, cleaned with the beards removed

large scoop of Pippies, Clams or Vongole depending on what you call them

1 finely diced brown onion

1 garlic clove, crushed

1 400g tin crushed italian tomatoes.

handful of freshly chopped italian parsley

Salt & Pepper.

Olive oil

1/2 a pkt of spaghetti (or more depending on how hungry you are)

Bring a large pot of salted water to the boil. When it’s boiling add the spaghetti and cook until al dente. (approx 12-15mins) Heat oil in a frying pan and add the garlic & onions and saute until translucent, add the tomatoes, rinsing out the tin with a little water and add that to the pan as well.

Bring to a simmer & allow to cook so the liquid is reduced and the sauce thickens, add the cleaned seafood and stir, cover with a lid (or oven tray as my frying pan doesn’t have a lid) and allow to cook until all the shell fish have opened. Discard any that don’t open as they could be off and therefore make you sick. Sprinkle with chopped parsley.

Drain the pasta and either toss into the sauce or vice versa & Va bene dinner is served.

Just remember the purists among us will say no parmesan cheese with seafood (I think it’s because it makes the seafood taste sour)

Perhaps serve with some crusty bread to mop up the juices